Sigs
Active Member
- Joined
- Aug 14, 2020
- Messages
- 295
- Reaction score
- 127
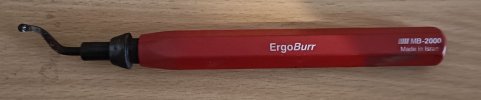
Try this for deburring.Bosch, 2.5mm! I start very slow and increase speed at the end. I deburr the holes with a 8mm drill bit, and i do it by hand. Just a gentle couple turns. Afterwards i enlarge the holes a bit so the turret fits snug with some good pressure....