LAPickGuitar
New Member
- Joined
- Feb 3, 2024
- Messages
- 2
- Reaction score
- 9
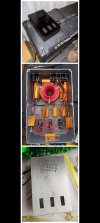
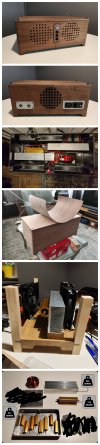
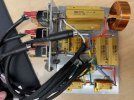
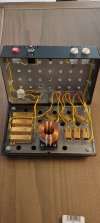
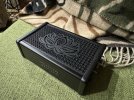
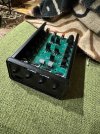
I found the @JohnH attenuator thread after buying a cheap tube amp (Harley Benton) and then starting to learn about tube amps. Realizing that I needed an attenuator and reading the reviews of commercially available models led me here. I'm committed to building an amp and this gave me the chance to polish my dormant soldering skills from back in the day when I built oscilloscopes for Tektronix. Here's my basic M2...


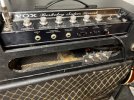
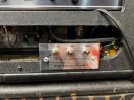
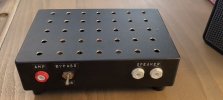
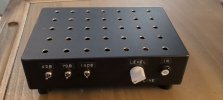
I have heat sinks ready to mount, but I want to see how hot the enclosure gets first. Ran the amp through it for the first time tonight. Works perfectly. Fun little project! Thanks @JohnH !!
I have heat sinks ready to mount, but I want to see how hot the enclosure gets first. Ran the amp through it for the first time tonight. Works perfectly. Fun little project! Thanks @JohnH !!


")