What makes DSL lead 1 to lead 2?

  • Thread starter johnnyeggz
  • Start date
  • This site may earn a commission from merchant affiliate links like Ebay, Amazon, and others.

cybermgk

Active Member
Joined
Feb 17, 2013
Messages
180
Reaction score
48
Location
Northern Illinois

Was trying to get my head around WHAT the changes did. Did a LOT of reading. I am somewhat new to this, so I may have some of this wrong. But,.....


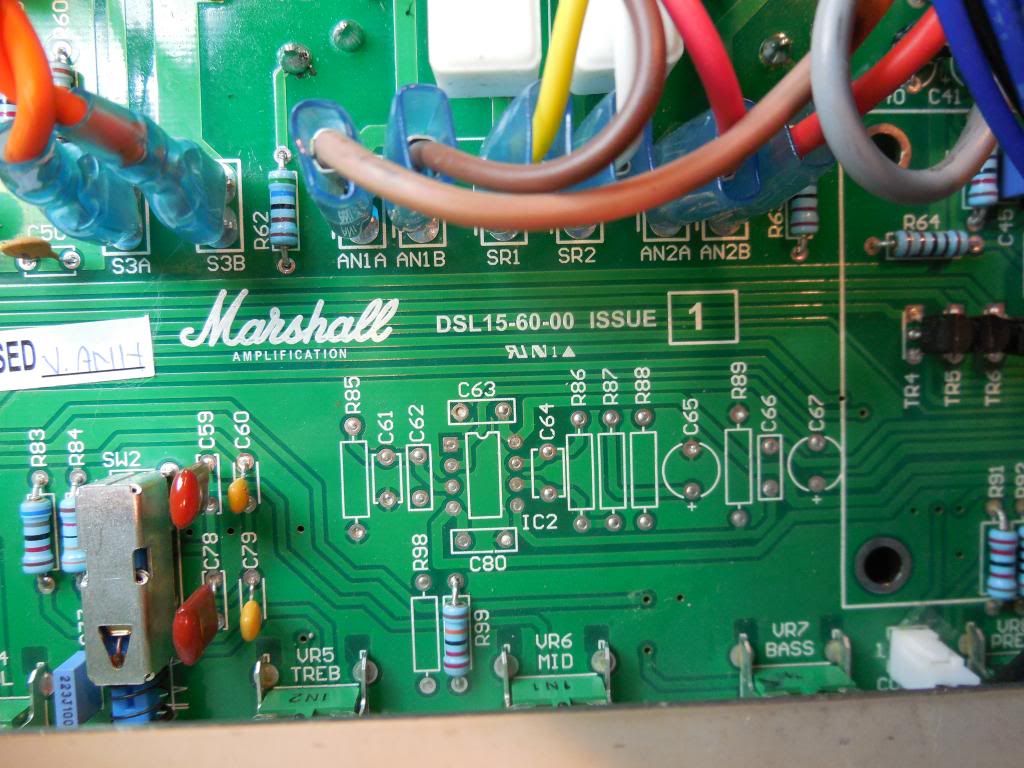
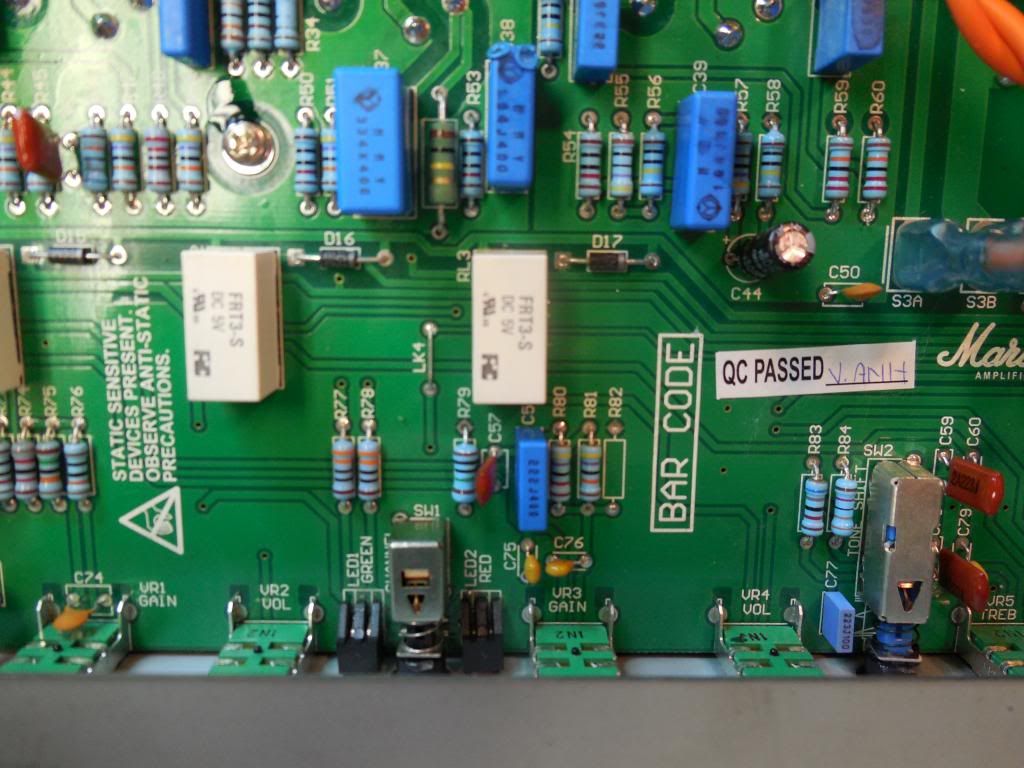
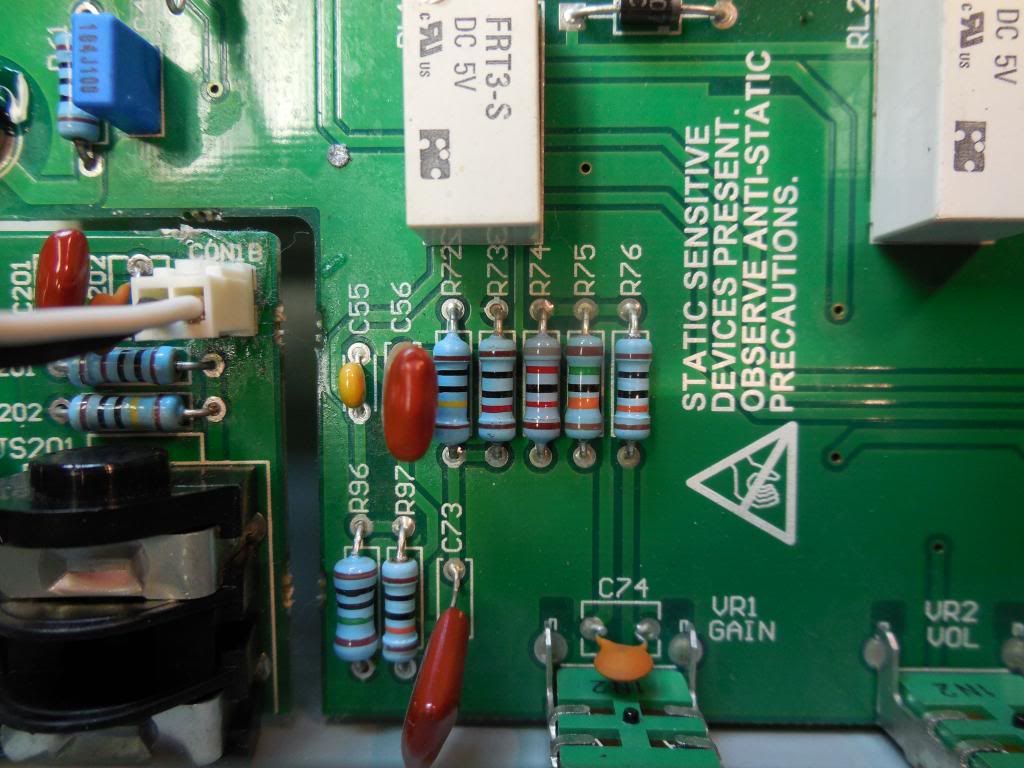
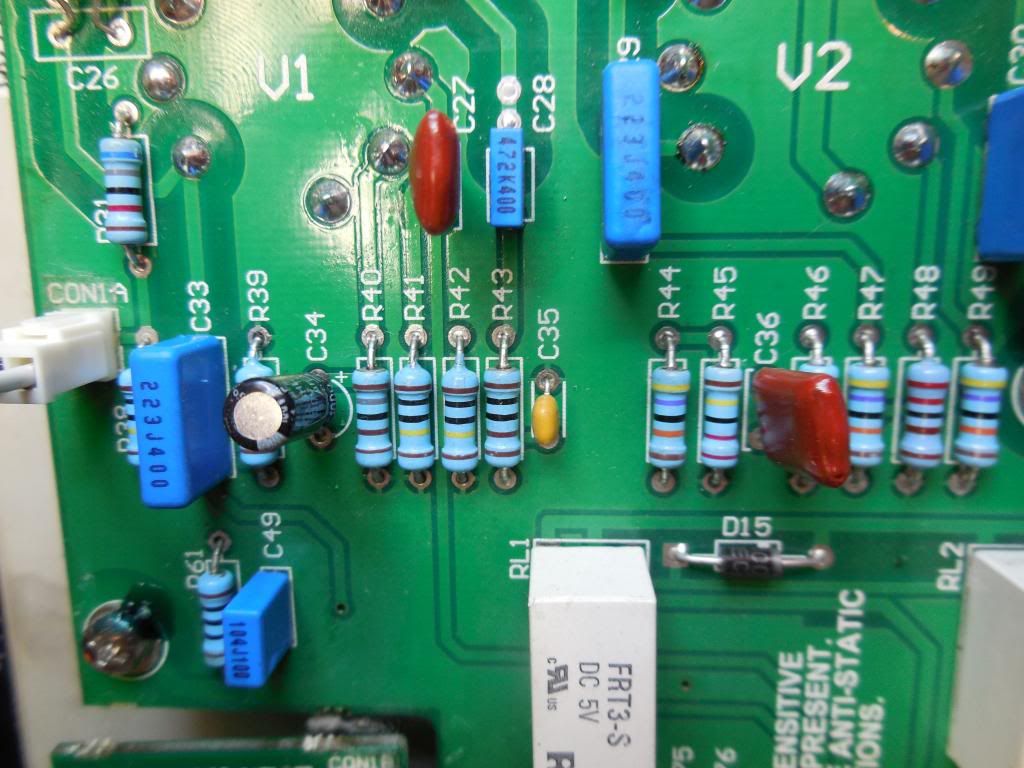
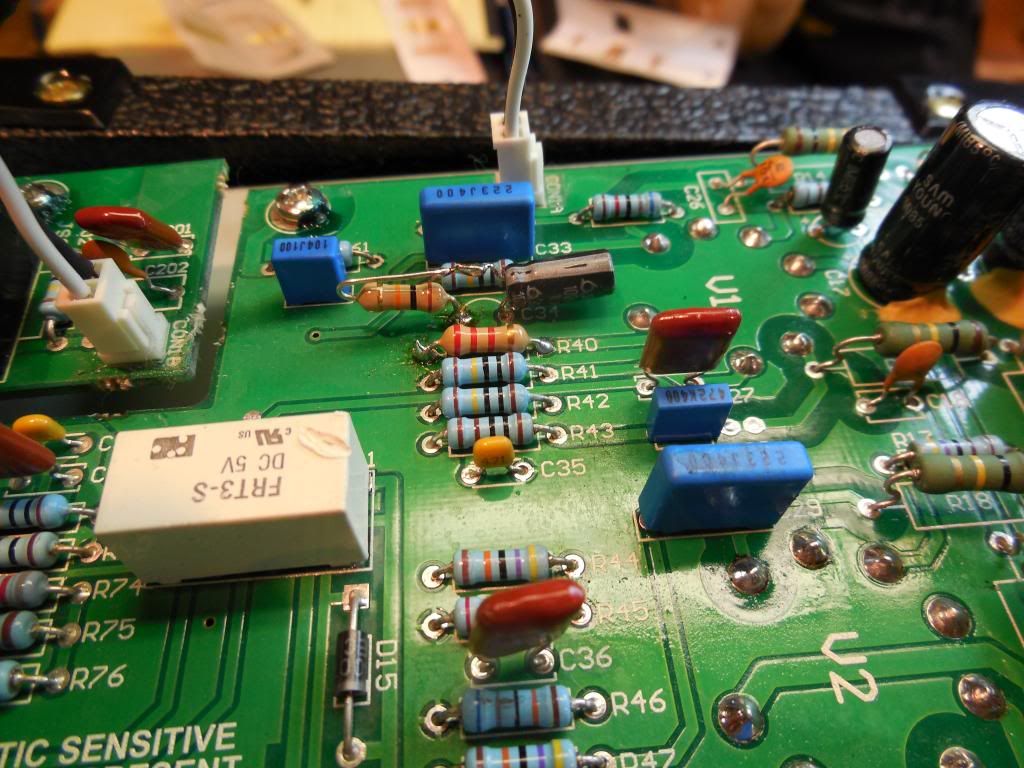
Originally, just clipping out C34 and keeping V1B at 1.8, would have unbypassed the cathode resistor and thus substantially reduced the gain on the V1B gain stage (which I believe is red Ch's first stage). But that would have introduced cathode current feedback (which reduced the gain), but also would give a more smoother and compressed tone. By not just partially bypassing (with a knee freq right around a low E string) also reduced the harder clipping, for a less aggressive tone.


Changing V1B resistor to 2.7K, with C34 still clipped, would have reduced the gain further on the stage, by adding more of that neg feedback.

Not sure how that affected things down the line.


Adding C34 back with a 10K in series, partially bypassed the cathode resistor again. BUT, it now lessened the boost above the knee freq, keeping the gain reduced to similar levels to being unbypassed above for the max gain above the knee freq. SLightly higher gain for higher freq than ultra low.

I'm not sure, I'd want to raise the V1A cathode resistor.
 

cybermgk

Active Member
Joined
Feb 17, 2013
Messages
180
Reaction score
48
Location
Northern Illinois
Assuming this amp follows the other DSL's gain cascading, then V1A triode is used by both the Classic Gain (Green/clean) Ch and the Ultra (red/dirt) Ch. Which I believe it does. Because, as I understand it the older DSLs Ultra Gain Ch, when switched to Lead2, switches out the series resistor with the V1B Bypass Cap (lowering the effective resistance on the cathode, and thus raising the gain), as well as switching out the extra load resistor across the gain pot (our R82).

So stock the DSL15H's ultra ch was Lead2. Adding R82, and adding a 10K resistor in series with the V1B bypass Cap, effectively made it the old Lead1 (with a 1.8K resistor in the V1B cathode spot). Clipping the bypass Cap C34, lowered the gain across all frequencies (loosing a slight mid and treble gain boost compared to an old DSL lead1). Adding it back with a 10K in series brings back that old DSL lead1 mid/high slight gain boost. When we upped the V1B cathode resistor to 2.7K, then it lowers the gain of Ultra Ch, and if you had the Bypass cap with resistor back in, also lowered the knee halfway frequency (pretty darn low actually, somewhere in the 11-14 hz range, I think)

I kind of like where the Green Ch is right now. Not sure I want to affect that as well, ALL the time. What I might do is make the V1A cathode resistor switcheable between the two values, a vintage/modern switch, sort of.

But, as I am somewhat new to this, I could be all wrong.
 

johnnyeggz

Well-Known Member
Joined
Jan 15, 2008
Messages
533
Reaction score
411
Location
NYC
I don't use the green side.
So I'm trying to make a perfect red side.
 

johnnyeggz

Well-Known Member
Joined
Jan 15, 2008
Messages
533
Reaction score
411
Location
NYC
Ok.
Was feeling froggy,so I jumped.
I again took out C34 with the 10k,
And raised V2b cathode R40 to a wopping 4.3k.
Even less gain ,but brighter.
 

cybermgk

Active Member
Joined
Feb 17, 2013
Messages
180
Reaction score
48
Location
Northern Illinois
I'm thinking of clipping C76 today. SEEMs to me to be the same as doing the Bright Cap mod on older DSLs (C12, or C19 on new DSL40C and 100).
 

cybermgk

Active Member
Joined
Feb 17, 2013
Messages
180
Reaction score
48
Location
Northern Illinois
Lemme know how it goes.
Yep C76 is definately equivelent of the C12 in older DSLs, and C19 in new DSL40C and 100.

HIGHLY recommend atleast clipping out C76. WORLD of good difference. Thought it might. According to the schematics it looked to allow higher frequencies to bypass the gain pot.

Undid it on one leg, then tried with (pushed for loose connection) and without. Tamed the brightness on the red Ch. NOW, EQ settings for Green and Red Ch can be the same, and switching is no problem. Really added a little thickness to the red Ch as well, and took away last of the high end harshness that was still there on red. ALSO lowered gain on red Ch, just a little as well (still trying to figure out why.).

Downside, or upside, depends on how you look at it. V1 tube choice could really affect the tone a lot before (more thn most amps I've rolled tubes in). Problem was, really bright tubes became unuseable. After removing C76, not a problem. Different brands bring a little charecter change, but it is much more subtle.

So, I left mine in just shrankwrapped the exposed leg and bent it back, alnog with C75 (still haven;t figured it's purpose yet).

So for me, to date, I have:

Clipped
C75 and C76
Added a 10K to C34's neg leg in serial
Upped R40 to 5.6K

I found the 10K on C34 really removed most of the over compressio, while helping to lower the V1B gain a bit. Thats why the 5.6K, gives an effective 3.6K for the gain on the triode (if no bypass cap).

Has mine just about perfect for gain on red and green with 12ax7 in V1. Have to reroll V1 and V2 now for best combo. Still have the NOS 12AT7 in PI as well. May STILL play with R40 some, but doubt it.
 

cybermgk

Active Member
Joined
Feb 17, 2013
Messages
180
Reaction score
48
Location
Northern Illinois
K, While I wait for the better tolerance, silver mica caps to get here, I did some playing with crap I had on hand (mostly ceramic disk, generic crap). I soldered to micro aligator clip leads to the C76 spot, then tested at 90 and 11ish gain, for each cap. Did it with presence and all eq at noon, then my preferred EQ.

To my ears, taking into account that the caps I used were not the greatest tolerances or quality, the sweet spot appears to be in the 150pf to 180pf, maybe as high as 200pf. At 220pf and above, that harshness and over brightness kicks in to my ears, unless you really turn back the presence trebles and mids somewhat.

THat sweet spot range removes the slight muddiness at lower gain settings that no cap brings, but doesn't get to harsh or bright, reigns it in at higher gain settings.

WHEN I get the better caps, I'll redo and post clips for you all, as everyone's tastes and ears are different.
 

BobV

New Member
Joined
Mar 5, 2013
Messages
107
Reaction score
25
Location
Glen Head, NY
Thanks for being the guineapig, Johnny and CyberMcGeek. I took a page from each book and did the following combination of mods:

R82 installed a 100K resistor (not 150K, note that it appears the cousin R76 over on the other channel is 100)

C34 added 10K in series

R40 replaced stock 1.8K with 2.2K (not the recommended 2.7K)

C76 bright cap - "clip" (lifted, actually)

I left R15 alone since I was afraid it would affect both channels, and I do use the green.

I also left C75 alone.

With JJ ECC83/12AX7's in V1,V2, V3, and a JJ ECC81/12AT7 in the PI, and the stock TAD 6V6's.

The gain knob on the ultra gain channel cleans up enough that you could almost say it picks up where the classic gain leaves off. Before the mods I ran the gain knob at no higher than 9:00 and would have to turn back the volume knobs on the guitar. Now I can have it around noon and the guitar volume knob becomes an option instead of a necessity. Yes, there's nothing but compression above about 2:00 until max, but hey, this is a 6V6 amp. I don't play in that gain neighborhood anyway.

I was already happy with the way each guitar, and each pickup, sounds special with this amp, and now I'm even happier.

Before I was swapping tubes, and the problem was anything that helps the ultra gain channel eviscerates the classic gain channel. Now I have both. I'll post some before and after gut shots when I get a chance.
 

BobV

New Member
Joined
Mar 5, 2013
Messages
107
Reaction score
25
Location
Glen Head, NY
OK here goes. First a shot of the PCB label. This was the first batch of DSL15H heads available at Sweetwater.
DSCN0112.jpg

Nice blank space for R82.
DSCN0117.jpg

Here's R82's cousin, R76
DSCN0124.jpg

Here's a peek at C75 and C76 (note the soldering iron damage to C38 was already there from the factory)
DSCN0117.jpg
 

BobV

New Member
Joined
Mar 5, 2013
Messages
107
Reaction score
25
Location
Glen Head, NY
Stock C34 and R40
DSCN0108.jpg


Mods to C34 and replaced R40:
DSCN0118.jpg


Clipped C76 and the new R82:
DSCN0123.jpg


Took me about an hour. Didn't remove the board from the chassis. Probably would've been faster if I was more effective at desoldering (especially the blank R82 where the empty pads were filled with solder; I also resorted to a wire drill on a Foredom hand piece). I also wish I had put the 10K resistor on the ground leg of C24 BEFORE putting the other leg of the resistor into the PCB; that way I could've put some heatshrink over the exposed joint.
 

millezotla

New Member
Joined
Feb 16, 2013
Messages
4
Reaction score
0
Stock C34 and R40
DSCN0108.jpg


Mods to C34 and replaced R40:
DSCN0118.jpg


Clipped C76 and the new R82:
DSCN0123.jpg


Took me about an hour. Didn't remove the board from the chassis. Probably would've been faster if I was more effective at desoldering (especially the blank R82 where the empty pads were filled with solder; I also resorted to a wire drill on a Foredom hand piece). I also wish I had put the 10K resistor on the ground leg of C24 BEFORE putting the other leg of the resistor into the PCB; that way I could've put some heatshrink over the exposed joint.

:applause:

Thanks
 

BobV

New Member
Joined
Mar 5, 2013
Messages
107
Reaction score
25
Location
Glen Head, NY
Thanks. I guess you have a thing for gut-shots.

Anybody have any tips when it comes to the lead-free solder these factories are using? I guess I just have to set the iron hotter??
 

chadjwil

Active Member
Joined
Apr 12, 2011
Messages
432
Reaction score
54
Location
Ft. Walton Beach, FL
I usually leave the temp alone and just hit those factory joints with some good solder before I try to remove it. The only time I would recomend turnin up the heat is when you have something connected to one of those huge ground plains. Even then you have to be careful because those solder pads can still curl up and die pretty quickly
 

BobV

New Member
Joined
Mar 5, 2013
Messages
107
Reaction score
25
Location
Glen Head, NY
I usually leave the temp alone and just hit those factory joints with some good solder before I try to remove it. The only time I would recomend turnin up the heat is when you have something connected to one of those huge ground plains. Even then you have to be careful because those solder pads can still curl up and die pretty quickly

OK thanks. Generally my approach was to make sure the tip was clean, and wet, and to use a little bridge of fresh solder.

Expecting some new tubes so I can go back to endlessly rolling preamp tube types, but honestly the amp already sounds dialed-in with these mods.
 
Top